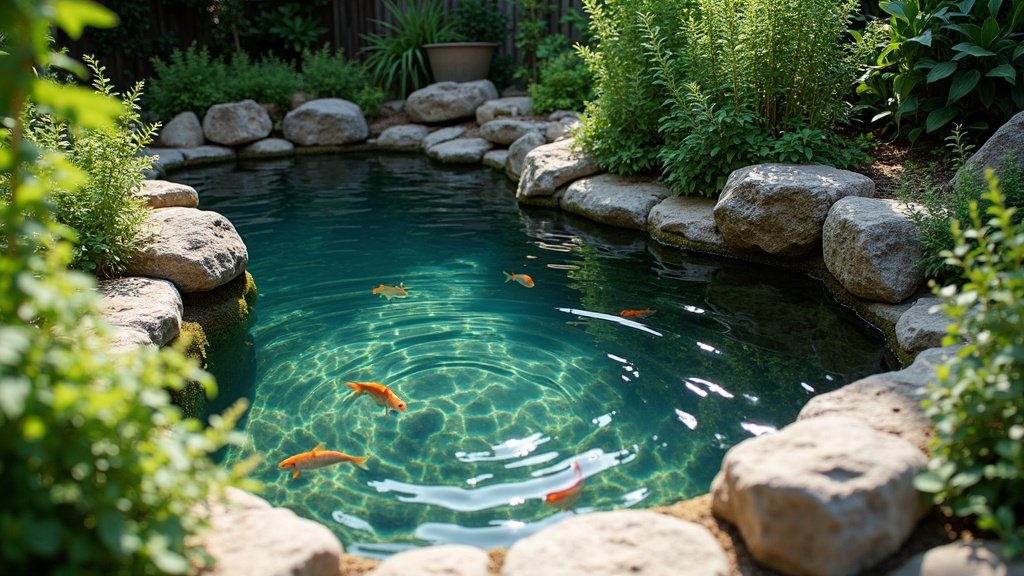
If you want the sound of moving water in the garden without digging a pond, a self-contained water feature is the easiest way in. It is a bowl, urn or stacked-stone piece with a small pump hidden inside, recirculating the same water over and over. No excavation, no fish to keep alive, and you can have it running the same afternoon you bring it home. The trick is matching the feature, the pump and the spot to each other so it looks right, sounds right and doesn’t turn into a chore.
The main types, and which suits your yard
Water features fall into a few honest categories, and picking the right family first saves you a lot of grief later.
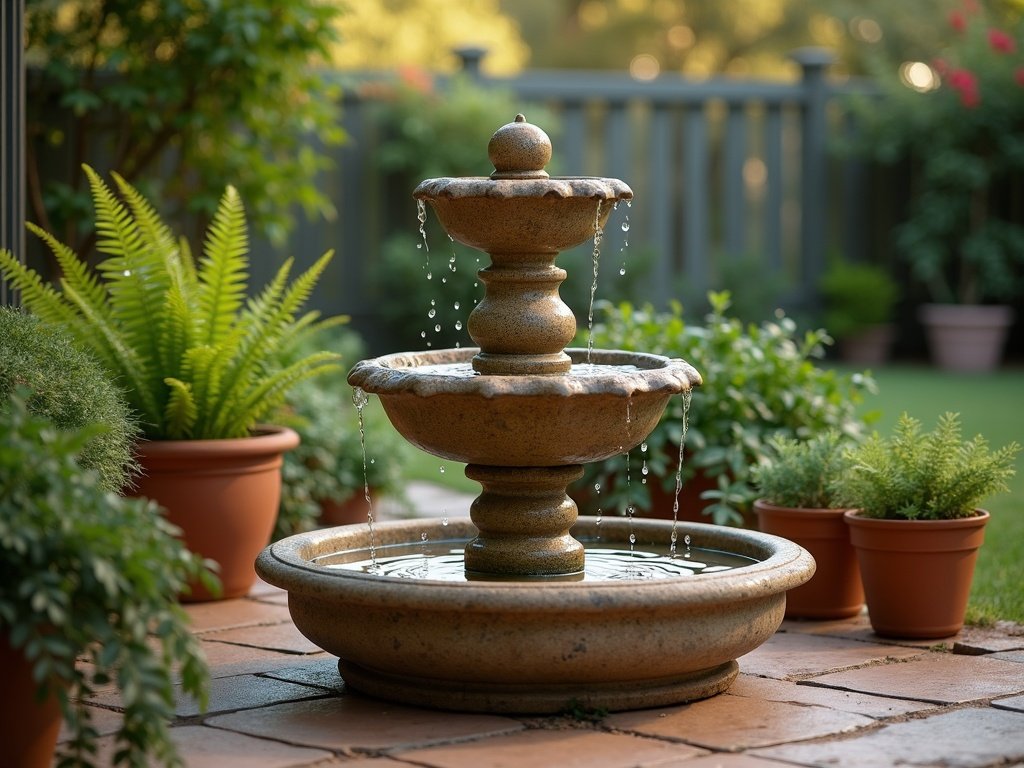
- Self-contained bowls and urns: everything sits in one vessel with a hidden reservoir. The simplest option and the best starting point for most people.
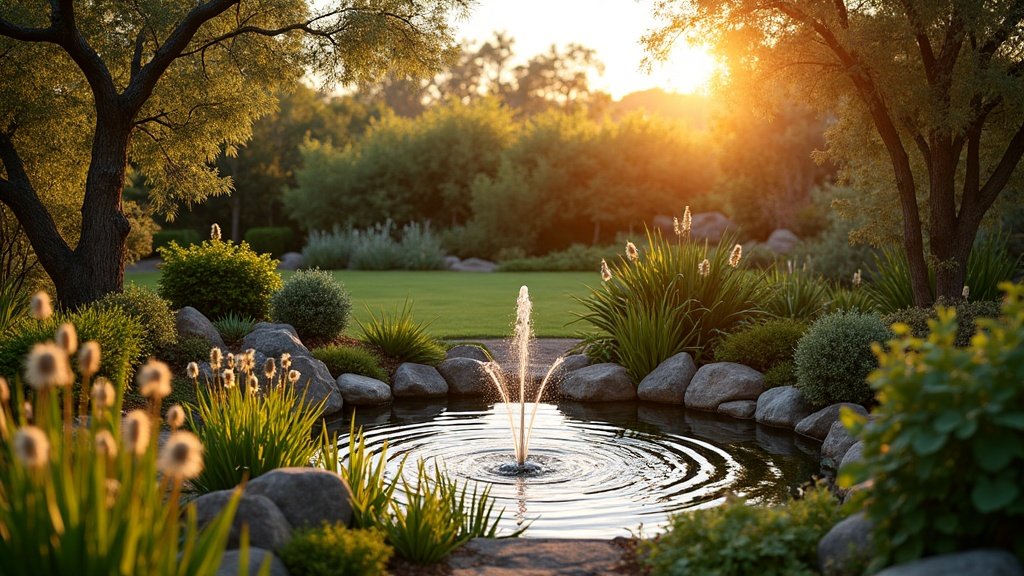
- Spill and cascade features: water tips from one level to the next. More movement and more noise, so they suit a spot where you want the sound to carry.
- Pondless waterfalls: water disappears into a hidden gravel-filled reservoir instead of an open pool. Safer around little kids and lower on maintenance, since there is no open body of water to keep clear.
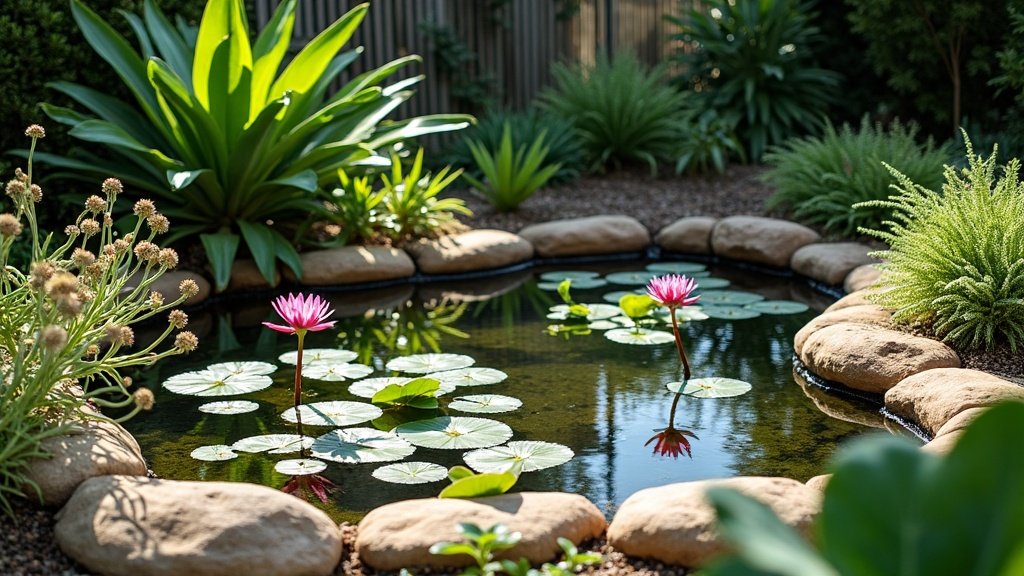
- Pond-fed features: a fountain or spillway plumbed into an existing pond. Lovely if you already have a pond, but now the feature and the pond share one system, so size the pump for both.
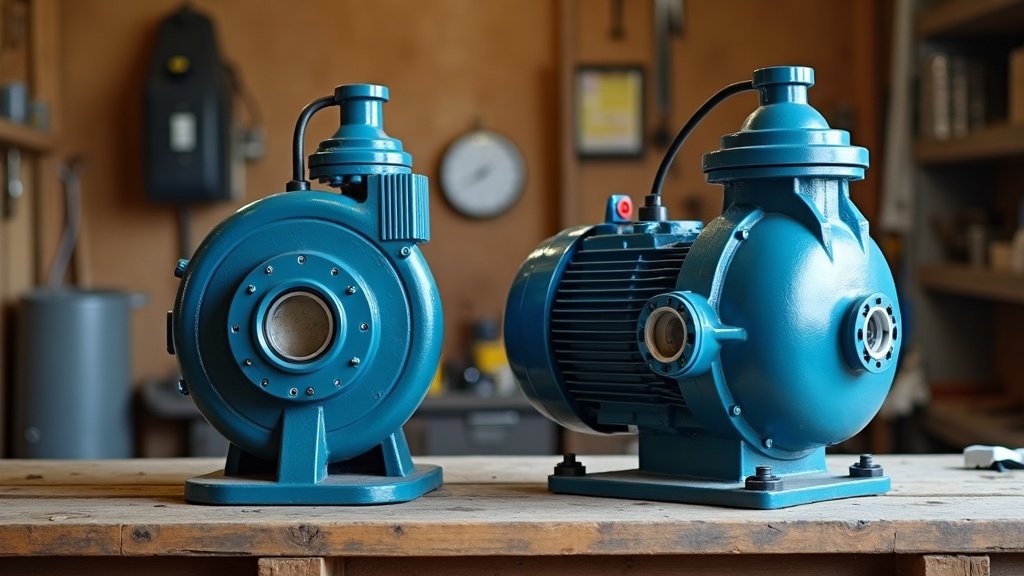
If you are weighing whether the pump for one of these should sit in the water or beside it, our explainer on submersible versus surface pumps walks through where each one earns its keep.
Getting the sound you actually want
This is the part people get wrong. The sound is not about how much water you move, it is about how far the water falls and what it lands on. A short trickle into a full bowl gives you a soft, gentle babble. The same water dropping a bit further onto pebbles or a hard surface gives you a brighter, busier splash. So before you buy, picture where you will be sitting. A gentle burble is perfect right beside an outdoor lounge, but you will barely hear it from the back step. Want it to mask road noise from the front of the block? You need more drop and more splash, which usually means a taller spill feature, not a bigger pump on a low bowl.
Mains power or solar: an honest comparison
Both have their place, and the right pick comes down to where the feature lives.
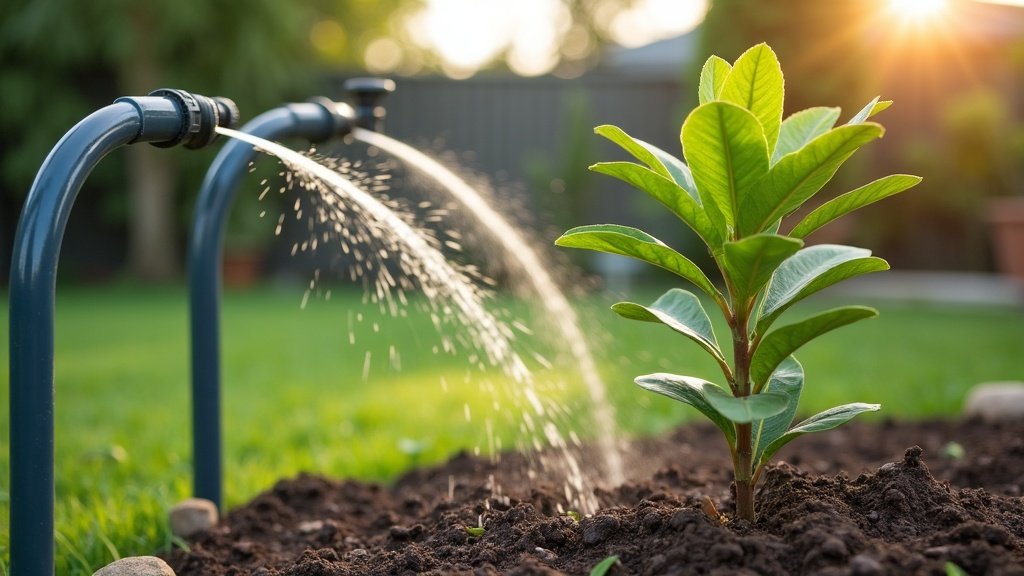
Solar fountain pumps run off a small panel and need no wiring at all, which makes them brilliant for a spot far from the house where running power would be a hassle. The catch is simple: they push water while the sun is on the panel and ease off when a cloud rolls over or the afternoon shadow creeps across. If you want a steady, all-day flow you can rely on, or you want it running of an evening, a solar pump on its own will frustrate you. Some come with a small battery to smooth that out, but keep your expectations sensible.
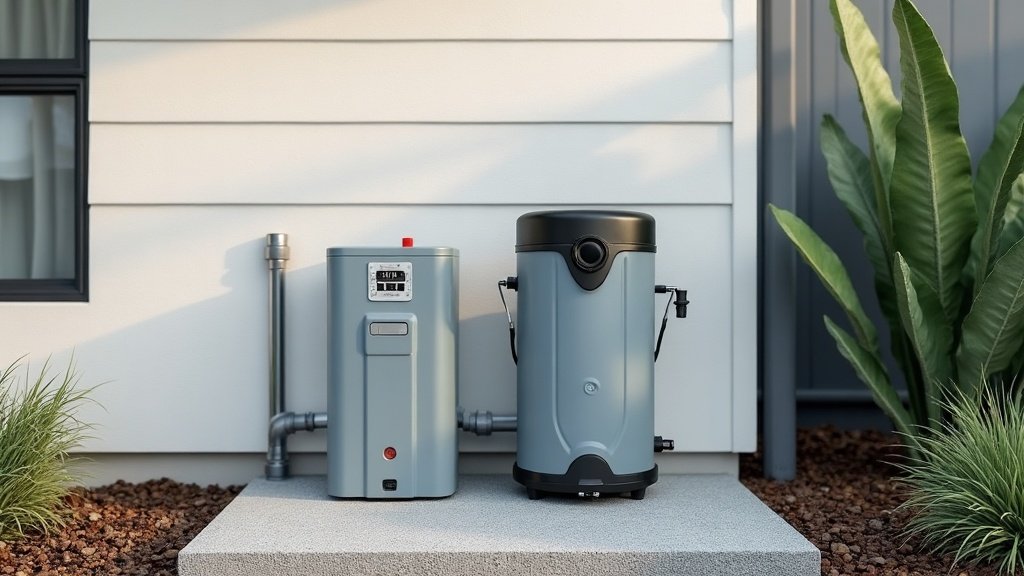
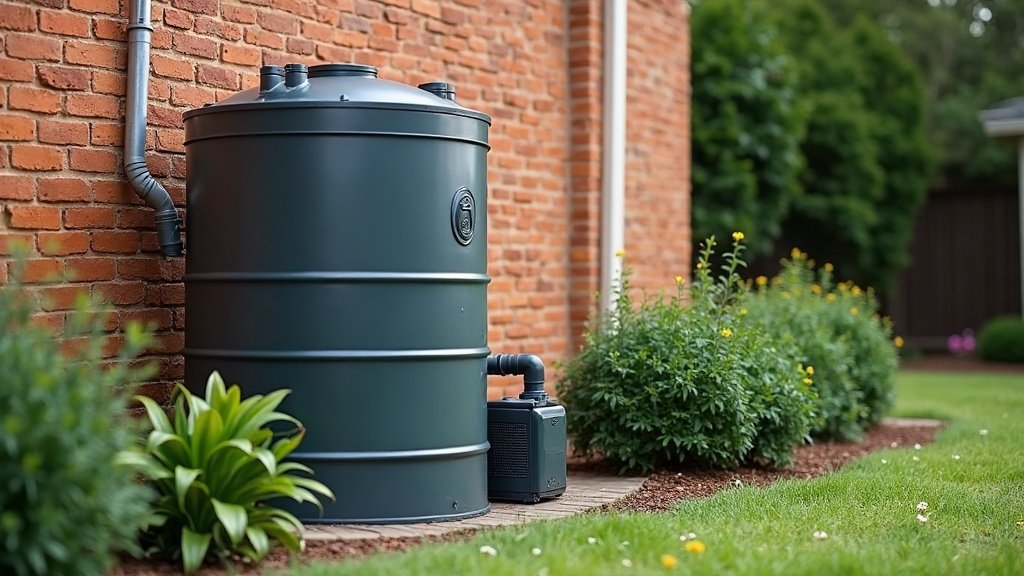
Mains-powered pumps give you that constant, set-and-forget flow, and they will run after dark and on grey days. The trade is that they need an outdoor power point, and that is where you stop being a DIYer, which brings us to the safety bit.
Powering it safely
Any mains-powered feature has to run off a proper outdoor power point on an RCD-protected circuit, and installing that point is work for a licensed electrician. Water and mains electricity sitting a metre apart is exactly the situation the rules exist for, so do not run a lead out a window or daisy-chain power boards to reach the spot. Plug-in solar kits and genuine low-voltage setups are a different story and are fine to set up yourself, but the moment fixed mains wiring is involved, that is a sparky’s job, full stop.
Placement and the top-up reality
Two practical things decide whether you enjoy the feature or resent it. First, evaporation is real, especially through an Australian summer. A small feature in full sun can drop its level noticeably in a few hot days, and if the pump sucks air because the reservoir ran low, it can burn out. So site it where you will actually notice the level, and get in the habit of a quick top-up. Second, think about leaf litter and shade. Under a big deciduous tree you will be forever fishing leaves out, and shade cloth of a different kind, the natural sort, drops muck straight into the water.
Keeping it clean and running
Recirculating features are low fuss, but they are not no-fuss.
- Keep the water up: check the level every few days in summer so the pump always has water to draw.
- Rinse the pump inlet: a clogged inlet screen is the number one reason a fountain slows to a dribble. A quick rinse under the tap sorts it.
- Stop it going green: keep the feature out of all-day direct sun where you can, and empty and wipe it out every so often rather than letting sludge build up.
- Break the mosquito cycle: moving water rarely breeds mozzies, but a feature switched off for weeks over winter can. Either keep it ticking over or drain it down when it is not in use.
Get those basics right and a water feature is one of the cheapest bits of atmosphere you can add to a backyard. If you are thinking about how it fits alongside pumps, ponds and the rest of your outdoor space, have a read of our guide to water in the Australian garden.