Category: Landscaping

  • Hydrozoning: Grouping Plants by Water Needs for an Easier-to-Water Garden

    Hydrozoning: Grouping Plants by Water Needs for an Easier-to-Water Garden

    Picture a garden bed with a lemon tree, a row of lettuce, a rosemary hedge and a couple of grevilleas, all on the one dripper line. Water it enough for the lettuce and you drown the rosemary. Water it for the rosemary and the lettuce bolts. Most “hard to water” gardens aren’t short of water at all. The plants are just mixed up.

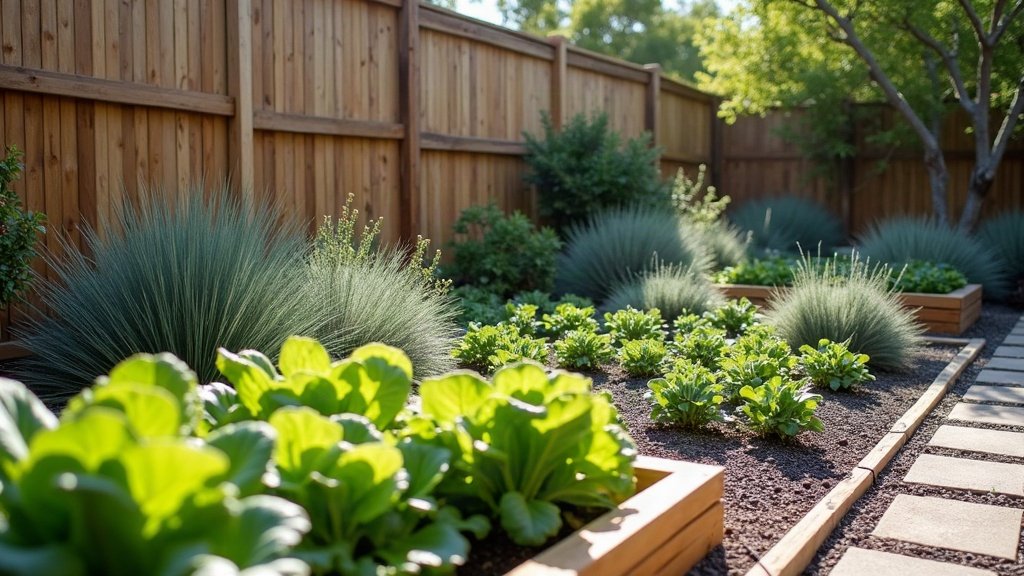
    Hydrozoning fixes that. Group plants that drink about the same amount, then water each group on its own schedule. Thirsty plants get what they need and tough plants get left alone.

    The three zones most backyards end up with

    Three zones is plenty for a suburban block, and it maps neatly onto most irrigation controllers.

    High-water zone

    This is the stuff that needs regular watering right through summer:

    • Veggie beds and herbs: shallow roots, fast growth, and they sulk the moment they dry out.
    • Pots and hanging baskets: a small volume of potting mix dries out far quicker than garden soil.
    • Lawn: if you keep one, it’s almost always the thirstiest thing on the property.
    • Citrus and fruit trees: especially while they’re setting fruit.

    Keep this zone small and close to the house and the tap. You’ll see it every day and spot a dry patch early, and you won’t be running pipe to the back fence for the tomatoes.

    Moderate zone

    Ornamental shrubs, most flowering perennials, and established exotic trees usually sit here. They need a deep drink every so often in hot weather, but they’ll cope with a missed day. It’s usually the biggest zone, and where most overwatering happens because nobody turned the timer down once the plants settled in.

    Low-water zone

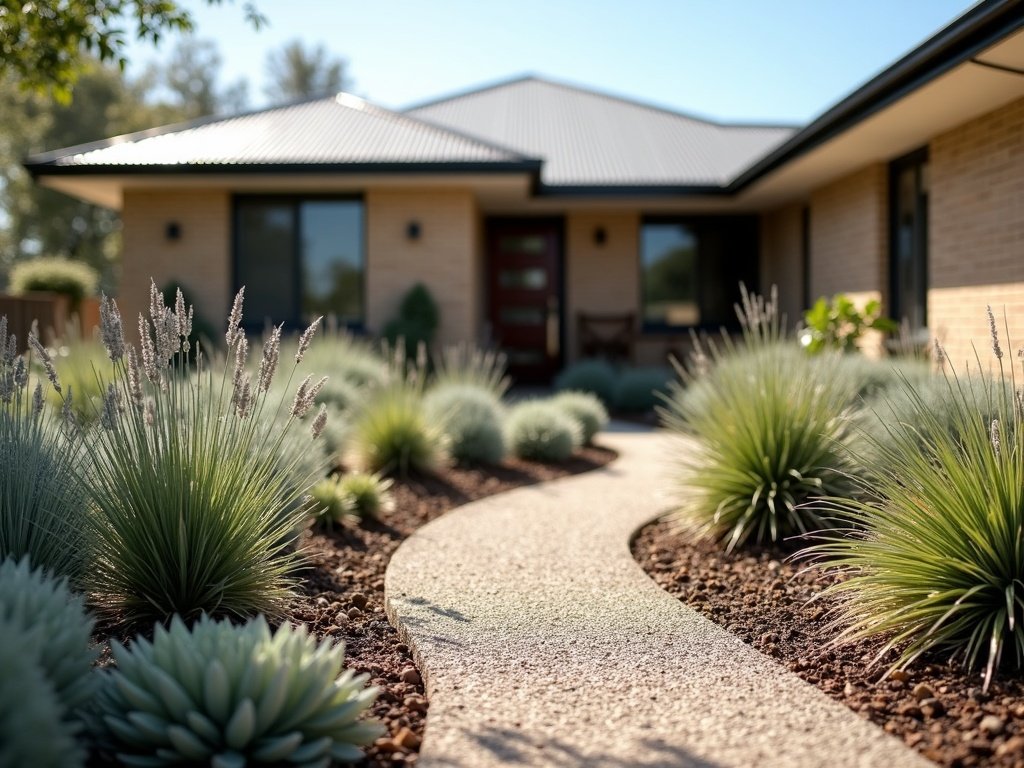
    Established natives suited to your area, plus many Mediterranean plants like rosemary, lavender and olives, along with succulents and most ornamental grasses. Once their roots are down, a lot of these get by on rainfall in a normal year and only need help through a long dry spell. Give them regular water and plenty will grow soft, go leggy, or rot at the roots.

    A drought-tolerant plant isn’t just one that survives without water. It’s often one that actively does worse with too much.

    Read the yard before you move a single plant

    Sun and wind change how much water a spot uses, so the same plant can need more in one corner than another. Walk around on a hot afternoon and take notes.

    • North-facing beds: full sun most of the day here in Australia, and the warmest, driest part of the garden.
    • West-facing walls and fences: brutal afternoon heat bouncing off brick or Colorbond. Soil against them dries fast.
    • South side and under trees: shade keeps the soil moist longer, but big tree roots compete hard for whatever water is there.
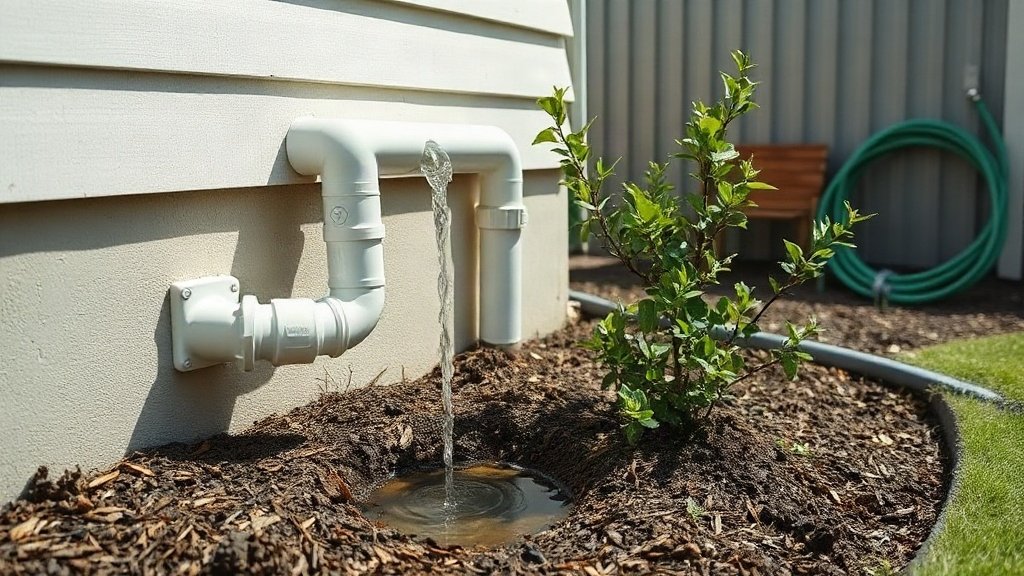
    • Low spots and downpipe outlets: wetter after rain, so a natural home for thirstier plants.
    • Windy, exposed corners: wind strips moisture from leaves and soil fast.

    Put your low-water plants in the hot, exposed spots and save the sheltered, damper ground for the thirsty ones.

    Making the zones actually work on the irrigation

    Grouping plants only pays off if each group gets its own watering. One line on one timer means nothing has really changed. Here’s the order to tackle it:

    1. Give each zone its own station: a separate valve or controller station for high, moderate and low, so each can run on its own schedule. Setting up drip irrigation zones and pressure from a pump covers how to split a system so each line gets the pressure it needs.
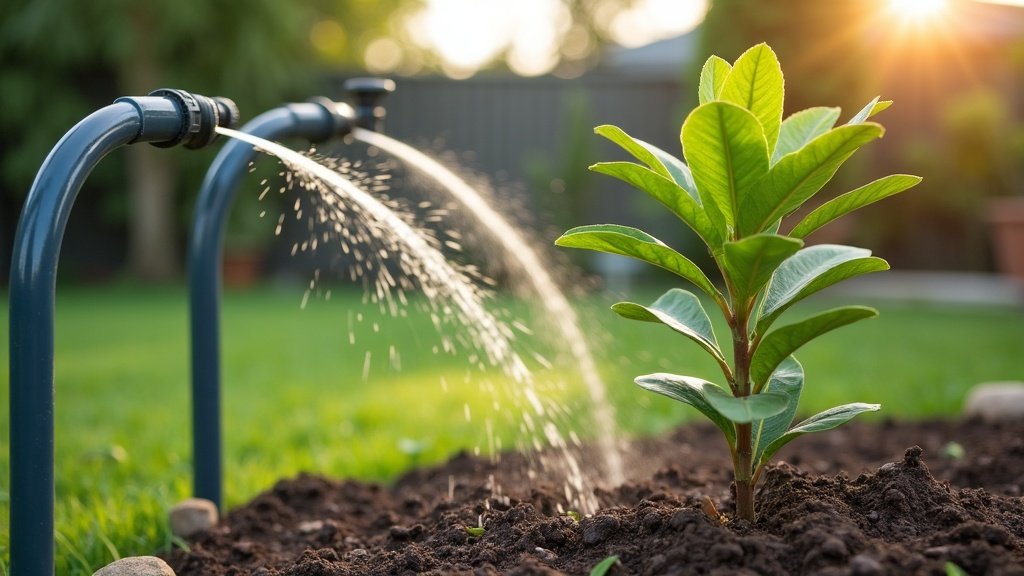
    2. Match the emitter to the plant: pots and veggies want closer-spaced drippers. A native shrub might only need one or two at the drip line.
    3. Water deep and less often in the low and moderate zones: long, occasional soaks push roots down. Frequent short sprinkles keep them near the surface where they dry out.
    4. Mulch every zone: mulch slows evaporation regardless of the plant. Our guide to mulching for a water-wise garden goes through which types let water through and which ones shed it.
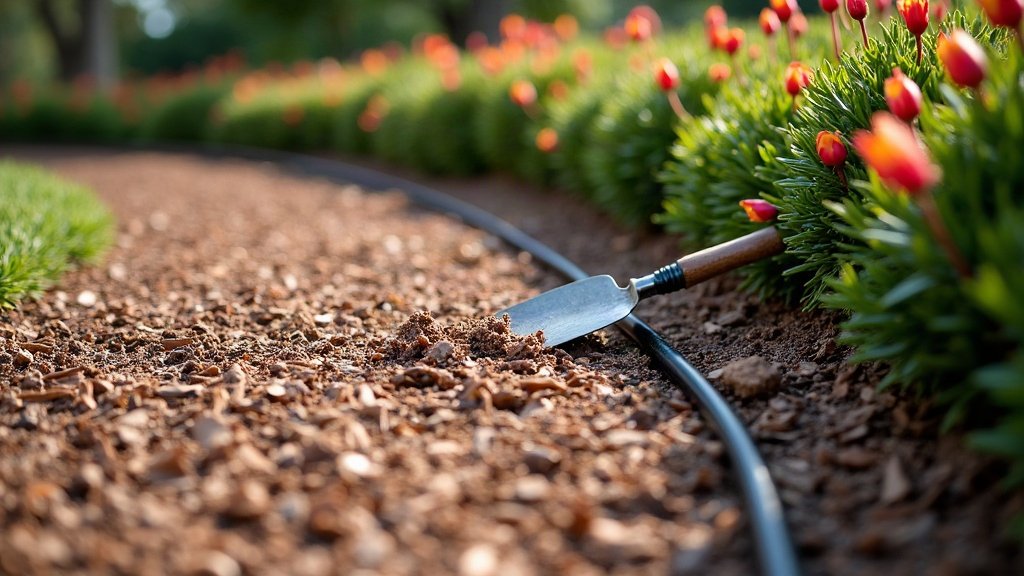
    5. Check the soil, not the calendar: push a finger or a trowel in near the roots before you change a schedule. Dry a few centimetres down means water. Damp means wait.

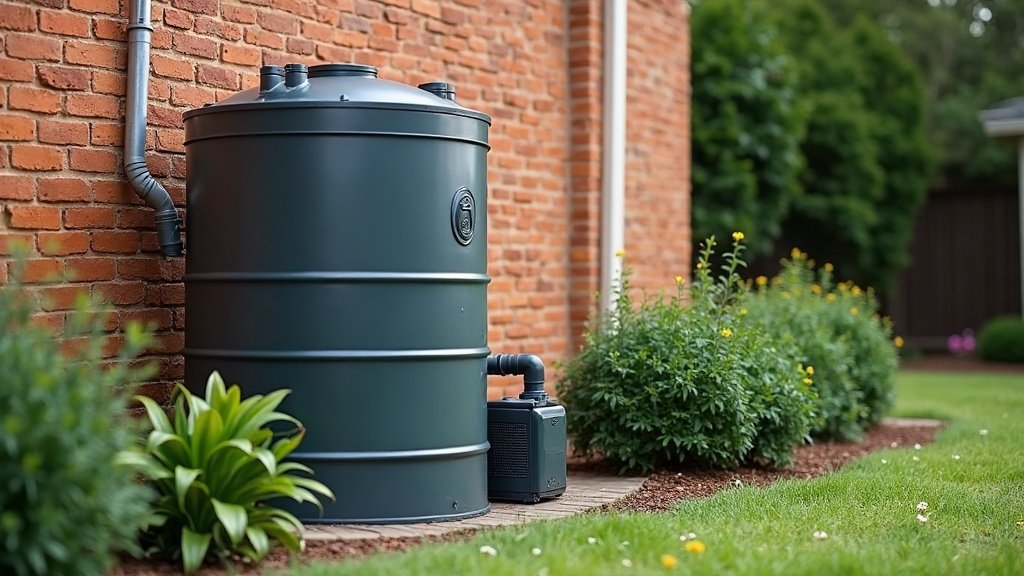
    If you’re on rainwater, a tank pump feeding the high-water zone and leaving the natives on rainfall is a sensible split. Keep in mind that any connection between tank water and your house mains is work for a licensed plumber.

    Where hydrozoning goes wrong

    Forgetting new plants. Every new planting, natives included, needs regular water while its roots establish. A new grevillea in the low-water zone will still want frequent watering for its first season. Hand water it or add a temporary dripper rather than bumping up the whole zone.

    One thirsty plant in the dry zone. A single hydrangea in among the westringias means either the hydrangea suffers or the whole zone gets overwatered to keep it alive. Move it, or put it in a pot in the high-water zone.

    Never revisiting the schedule. Plants mature and trees throw more shade. Look over your zones each spring and autumn, and turn things down where you can.

    Ignoring local rules. Watering days, hours and allowed methods vary between regions and change with dam levels. Check your state water authority or local council before you set the timer, and remember drip systems are often treated differently from sprinklers.

    Starting small

    You don’t have to dig up the whole garden this weekend. Start with the worst bed, the one where veggies and natives share a dripper. Split it, move the odd ones out, and give the thirsty plants their own line. For the bigger picture on plant choice and soil, our guide to water-wise and drought-tolerant landscaping is a good next read, and watering beds, lawns and new trees efficiently covers the watering side in more detail.
  • Mulching for a Water-Wise Garden: What Actually Saves Water

    Mulching for a Water-Wise Garden: What Actually Saves Water

    Mulch saves water by stopping the sun and wind from pulling moisture out of bare soil. That only pays off if the water you apply still gets through the mulch to the roots. Get the order right (soak the soil, lay the irrigation, then mulch) and use a coarse material that lets water pass. After that you can cut back how often you water, as long as you check the soil underneath rather than guessing.

    Where does the water go without mulch?

    On a hot, windy afternoon, bare soil dries from the top down. The surface crusts, cracks open, and every crack lets more moisture escape. Water you put on in the morning can be gone from the top few centimetres by mid-afternoon, and shallow-rooted plants feel that first.

    A layer of mulch breaks that cycle. It shades the soil, keeps the wind off it and holds a cooler, steadier temperature at root level. The moisture stays down where roots can use it.

    The mistake that wastes the most water: mulch that sheds it

    A common problem is mulch that has turned into a lid. Fine, composted mulches and some barks can dry out and go water-repellent. When that happens, water from a hose or sprinkler beads up, runs sideways and drains off the bed. The soil underneath stays dry while the surface looks freshly watered.

    Fine mulch laid too thick does something similar. It packs down into a mat that slows water and air getting through. You end up watering longer to get the same result, which defeats the point.

    Here is a quick test. Water the bed as normal, wait half an hour, then pull back a handful of mulch and push a finger or a trowel into the soil. Dry soil under wet mulch means the mulch is shedding water. Fluff it up with a rake, water in a soil wetter if it has gone hydrophobic, or replace it with something coarser.

    Water first, then mulch

    Mulch keeps moisture in, but it also keeps light rain out. If you spread it over dry soil, you have locked the dryness in. Always give the bed a deep soak first, or mulch straight after a good rainfall, so you are trapping water rather than sealing out the next shower.

    Put the drip line under the mulch, not on top

    If you water with drip line or soaker hose, run it on the soil surface and lay the mulch over it. The water goes straight into the root zone. Very little of it gets caught in the mulch layer or lost to evaporation from the top of it.

    Two things to sort before you cover it. First, run the system and walk the line to check every dripper is working, because a blocked emitter is harder to spot once it is buried. Second, make sure your pump or mains pressure suits the drip line, as covered in our guide to setting the right pump pressure for drip irrigation. If you are still deciding between drip, soaker hose and sprays, our garden irrigation and watering guide compares them.

    Coarse, fine or stone: which saves more water?

    For water saving, coarse organic mulch is the safest choice for most beds. Here is how the main options behave.

    • Coarse organic (chunky bark, wood chip, leaf litter): lets water through easily, does not mat down, and slowly feeds the soil as it breaks down.
    • Fine organic (pea straw, sugar cane, fine compost mulch): great in veggie beds and around young plants, but keep it thinner and top it up often so it never forms a crust.
    • Stone and gravel: lets rain straight through and never breaks down, but it soaks up heat and radiates it back at plants. It suits hardy, sun-loving natives and succulents. It is a poor choice around thirsty plants on a west-facing bed.

    Whatever you use, keep it pulled back from stems and trunks. Mulch piled against bark holds moisture where you do not want it and invites rot.

    How much can you cut back the watering?

    There is no set figure that suits every garden, so do not just halve the timer and hope.

    After mulching, stretch the gap between waterings by a day or two. Before each scheduled water, dig down beside a plant to about the depth of its roots. If the soil is still damp, skip that watering. Keep stretching until you find the point where the soil is just starting to dry at root depth, and set your timer there.

    This pairs well with the bigger-picture changes in our water-wise landscaping guide, such as grouping plants by how thirsty they are. If you water from a tank, our rainwater harvesting guide covers setting up the supply side. Watering days and hours under restrictions are set by your local water authority, so check its current rules before you programme a controller.

    Habits that quietly undo your mulch

    • Overhead sprinklers on mulched beds: much of the water wets the mulch and evaporates from it before reaching the soil. Switch those beds to drip.
    • Letting it thin out: organic mulch breaks down, and patchy cover lets the soil bake again. Top it up each spring.
    • Same schedule all year: a mulched garden needs far less in cool months. Turn the controller down rather than leaving summer settings running.

    If you live in a bushfire-prone area, your state fire service publishes advice on keeping flammable mulch clear of the house. Follow it for the beds closest to your walls, and use a non-flammable option such as gravel there.

  • Reusing Greywater in the Garden: What’s Allowed and What Isn’t

    Reusing Greywater in the Garden: What’s Allowed and What Isn’t

    Greywater from the shower, the bath, the laundry and the hand basins does not need to go straight down the drain. Every state and territory in Australia allows some form of household greywater reuse in the garden. What trips people up is not whether it is legal, it is which of two very different approaches they are allowed to use, and that answer depends on where you live and what you install.

    What counts as greywater, and what doesn’t

    Greywater is not a vague catch all for anything that isn’t drinking water. It has a fairly specific definition, and getting it wrong is the first mistake people make.

    • Bath, shower and hand basin water: the everyday sources most simple systems are built around.
    • Laundry water: usually included, though front loaders and top loaders discharge differently and some diverters suit one better than the other.
    • Kitchen sink water: often excluded or handled separately, because it carries fat, food scraps and stronger cleaning chemicals that behave badly in soil.
    • Toilet waste: this is blackwater, a completely different category, and it is never part of a household greywater system.

    Two approaches, and they are not interchangeable

    Almost everything else about the rules flows from which of these two you are running.

    A diversion system takes untreated greywater straight from a source, commonly the washing machine or the shower, and pipes it out to the garden for near immediate use. There is no storage and no treatment, and that simplicity is exactly why these systems face fewer approval hurdles.

    A treatment system collects greywater, filters and treats it, then stores it for later use. Treated greywater can usually cover a wider area and sometimes gets reused indoors as well, but the system itself is bigger, more expensive and sits under closer regulatory scrutiny because stored, treated water carries different health risks to water applied straight to a garden bed.

    Why the rules differ so much state to state

    Plumbing and health regulation in Australia sits mostly with the states and territories, not the Commonwealth, and greywater reuse shows how much that varies. Some jurisdictions let a simple diversion device go in without formal council approval, provided it meets set conditions. Others want a permit regardless of how basic the system is. Treatment systems attract closer scrutiny almost everywhere, because storing water that isn’t managed properly can grow bacteria. The only safe move is to check with your state or territory health department, your local council and your water authority before you install anything, and treat this guide as a starting point rather than the final word.

    What a simple diversion system can and can’t do

    Even where a basic diverter is allowed without a permit, most jurisdictions expect it to be used sensibly. The common threads across the country look roughly like this.

    • No ponding: greywater should soak away, not sit in a puddle on the surface where people, pets or mosquitoes can get at it.
    • Subsurface or mulch covered application: running it under mulch or through a small subsurface trench cuts smell, contact risk and evaporation loss.
    • Rotate where it lands: sending the same water to the same patch of lawn week after week overloads that spot with detergent residue and salts.
    • Keep it off edible parts of plants: greywater is generally fine around fruit trees and established garden beds, but avoid direct contact with leafy greens or root vegetables you plan to eat raw.
    • Have a mains bypass: every diverter needs a simple way to send water to the normal sewer or septic connection when you don’t want it going to the garden, such as during heavy rain or a holiday away.

    When you actually need a licensed plumber

    Plenty of people assume greywater reuse is a weekend DIY job because a diverter kit looks simple in a hardware catalogue. Tying any device into your household plumbing, even a basic laundry to garden hose, is plumbing work, and in every state that means a licensed plumber has to do the connection or sign off on it. It is not just red tape. A poorly connected diverter can siphon greywater back into drinking water lines, or bypass the trap that stops sewer gas coming back into the house, and neither of those is a small mistake. Treatment systems are firmly plumber and often council-approval territory from the start. This is where a team like Creek to Coast Plumbing earns their keep: getting the plumbing side of a water reuse system connected correctly, with the right backflow protection and bypass, rather than guessing with a length of garden hose off the laundry outlet.

    Detergents matter more than people expect

    What goes down the drain before it reaches the garden has a direct effect on your soil and plants. Ordinary laundry detergents and dish soaps often carry high sodium and phosphorus loads, and over time that builds up in soil the way any excess fertiliser would, harming structure and plant health rather than helping it. Greywater friendly detergents, generally labelled low sodium and phosphate free, are worth the switch if you are running a system regularly. Skip the garden feed altogether on days you have used bleach, nappy soak or a heavy duty stain treatment, and send that load to the sewer instead.

    Getting it right

    A well run greywater system is one of the more genuinely useful things a household can do for a thirsty garden, and it pairs naturally with the other pieces covered in our garden irrigation guide and our water-wise landscaping guide. Start by checking the actual rules for your state and council, keep the plumbing connection in the hands of a licensed plumber, and treat it as one part of a broader water strategy alongside a well set up rainwater harvesting system rather than a replacement for one. Done properly it quietly saves a real amount of mains water every single week without asking much of you at all.

  • Water-Wise and Drought-Tolerant Landscaping: A Practical Australian Guide

    Water-Wise and Drought-Tolerant Landscaping: A Practical Australian Guide

    A water-wise garden is not a yard full of gravel and a lonely cactus. It is a garden designed so the water you put on stays where the roots can use it, planted with things that do not gasp the moment a heatwave rolls through. Get that right and you have a green, living garden that shrugs off a dry Australian summer and costs far less at the tap. Here is how it is done, biggest wins first.

    What “water-wise” really means

    Being water-wise is about matching the garden to your climate and soil instead of fighting both. It is a design approach, not a plant list. Three levers do most of the heavy lifting: the soil you plant into, the way you group plants, and the mulch on top. Sort those out and even thirsty-looking beds get by on a fraction of the water. Skip them and no amount of clever watering will save you. For how this fits with pumps, ponds and the rest of your outdoor water use, read our guide to water in the Australian garden.

    Group plants by how thirsty they are

    The single smartest move in a water-wise garden is hydrozoning: putting plants with similar water needs together so you can water each zone to suit it, rather than soaking everything to keep the thirstiest plant alive. Think of it as three loose bands.

    • High-water zone: the veggie patch, pots and any lush feature planting, kept close to the house and to a tap so it is easy to tend.
    • Medium-water zone: the everyday shrubs and perennials that want a drink now and then but cope between waterings once established.
    • Low-water zone: the tough natives, succulents and hardy groundcovers out the back or along the verge that basically look after themselves.

    Once the beds are zoned, your watering makes sense: you are not drowning the survivors to rescue the divas.

    Feed the soil before you plant a thing

    This is the cheapest water saving there is, and the step most people rush. Sandy soil drains so fast the water is gone before the roots get a look in. Heavy clay sheds it off the top. The fix for both is the same: dig in plenty of compost so the soil holds moisture like a sponge and lets roots run deep. Then keep a good layer of mulch over every bit of bare dirt, because mulch does a lot of quiet work.

    • Cuts evaporation: it shades the soil so the sun cannot bake the moisture straight out of it.
    • Smothers weeds: fewer weeds means less competition for the water you do apply.
    • Keeps roots cool: a mulched bed holds a steadier temperature through a scorcher.

    Coarse bark, sugar cane, pea straw or leaf litter all work. Keep it a few fingers thick, top it up as it breaks down, and pull it back a little from plant stems so they do not stay wet and rot.

    Choose plants that want to be here

    Drought-tolerant does not mean drab. The range of plants that thrive on little water in Australian gardens is huge, from silver-leaved natives and grevilleas to succulents, ornamental grasses and Mediterranean herbs like rosemary and lavender. The trick is to pick for your spot and let them settle in. Even the toughest plant needs regular water through its first season or two while the roots get established. After that, most coast on rainfall plus the occasional deep soak.

    What suits you depends heavily on your local climate zone, so treat any plant list as a starting point. Before you fall for something, check with your council or a local nursery, both for what grows well in your area and because some vigorous plants are listed as weeds in certain regions. When in doubt, lean on locally native species: they evolved for your rainfall and feed the local birds and insects into the bargain.

    Water less often, but water properly

    How you water matters as much as how much. A daily light sprinkle trains roots to sit near the surface where they dry out fast. A longer, less frequent soak pulls them deep where the soil stays damp, so those plants ride out dry spells far better. A few habits make the difference.

    • Water early or late: watering in the cool of morning or evening means far less is lost to evaporation than a midday blast.
    • Aim at the roots: drip lines and soaker hose put water at the base of the plant instead of into the air, and pair beautifully with hydrozoning. Our garden irrigation guide walks through the options.
    • Use what falls for free: plumbing a tank into your beds means you are watering off the roof, not the mains, which our rainwater harvesting guide covers end to end.

    One more thing worth saying plainly: water restrictions and allowed watering days change by council and season, so check your local restrictions before you set a timer.

    Rethink the lawn

    A big thirsty lawn is usually the hungriest thing in the whole garden. You do not have to tear it all out, but ask how much you actually use. Shrink it to the patch the kids or the dog genuinely need, and hand the rest to mulched beds, hardy groundcovers or a gravel area for sitting. Where you keep turf, a warm-season grass suited to your region handles heat and dry far better than a soft cool-season lawn. Groundcovers in particular earn their keep: they knit across bare soil, keep it shaded and cool, and ask for almost nothing once established.

    None of this is hard, and you do not need to do it in one weekend. Start with the soil and the mulch, group your plants sensibly, choose things that suit your patch, and water them deeply but less often. Do that and the garden looks after itself through the hottest months, keeps the water bill sensible, and still feels like a proper garden rather than a car park.

  • Irrigation for a Thriving Garden: Watering Beds, Lawns and New Trees Efficiently

    Irrigation for a Thriving Garden: Watering Beds, Lawns and New Trees Efficiently

    Efficient irrigation means getting the right amount of water to the right place with as little waste as possible — usually with a pump or pressure source feeding drip lines or sprays on a sensible schedule. The trick is matching the system to each zone, watering new plantings differently from established ones, and staying within your council’s water rules. As always, the pump’s electrical connection is a licensed electrician’s job and any mains or backflow work belongs to a licensed plumber.

    Why irrigation often needs its own pump or pressure source

    Drip lines and sprays need a reasonably steady pressure to work evenly. If you’re watering from a rainwater tank, gravity alone usually won’t cut it, and even on mains the pressure can sag once you open several zones. A pump or pressure source gives the system the consistent push it needs so the far end of a line gets as much water as the near end. Match the pump to the demands of your zones rather than guessing — too little and coverage suffers, too much and you waste water and stress the fittings.

    Drip vs spray and what each demands

    Drip irrigation delivers water slowly, right at the root zone, with very little lost to evaporation or wind — ideal for garden beds, hedges and individual plants. It runs at lower pressure but needs clean water and the occasional flush to stop emitters clogging. Spray and sprinkler systems cover broad areas like lawns quickly, but lose more to evaporation and drift, and want higher flow and pressure. Many gardens use both: drip in the beds, spray on the lawn, each on its own zone so you can water them differently.

    Matching output to watering zones

    Group plants with similar water needs into zones, and size each zone to what your pump and supply can comfortably deliver at once. Trying to run too many sprinklers off one line just starves them all. Splitting the garden into a few well-matched zones — run in sequence rather than all together — gives even, reliable watering and lets you tailor timing to each area.

    Watering newly planted trees and gardens for establishment

    New plantings are the thirstiest and least forgiving. A tree or shrub that hasn’t yet grown a wide root system relies entirely on the water near its base, so during establishment it needs consistent, deep watering — slow and thorough, encouraging roots to grow down rather than staying shallow. Mulch helps hold that moisture in. Consistent watering is critical while a tree establishes, and qualified arborists such as Waratah Professional Tree Care can advise on care for newly planted or established trees. Once a plant is established, you can usually taper watering back as its roots reach out and find their own moisture.

    Timers, controllers and water-wise scheduling

    A timer or controller takes the guesswork and the forgetting out of watering. Set zones to run in the early morning when evaporation is low and plants can take the water up through the day. Water deeply but less often to encourage strong roots, and adjust with the seasons — far less in cooler, wetter months. Smarter controllers can skip a cycle after rain or adjust to the weather, saving water without you lifting a finger.

    Water restrictions, allowed watering days and hours, and rules around certain water sources vary by council and can change. Check your local restrictions before setting a schedule, and build your timer around what’s currently permitted where you live.

    Who connects the pump and supply

    You can lay out drip lines, sprinklers and timers yourself — that’s the fun part. But two connections aren’t DIY. The pump’s electrical connection must be done by a licensed electrician on an outdoor, RCD-protected circuit. And anything that ties into the mains supply, or that needs backflow prevention to stop irrigation water flowing back into the drinking supply, is licensed plumber’s work. Plan for both trades where they apply and the rest of the system is yours to build.

    Irrigation is one thread in a connected water system — see how it fits with tanks, pumps and water-wise design in our guide to water in the Australian garden.

  • Rainwater Harvesting for the Garden: Tanks, Pumps and Who Connects What

    Rainwater Harvesting for the Garden: Tanks, Pumps and Who Connects What

    Harvesting rainwater for the garden is one of the easiest wins in an Australian backyard: catch what falls on your roof, store it in a tank, and use a pump to push it out to the garden. For garden-only use you have a lot of freedom, but the moment you want that water plumbed into the house, that becomes licensed plumbing work. This guide walks through sizing, keeping the water clean, choosing a pump, and who connects what.

    Why harvest rainwater (and what it can legally supply)

    Rainwater is free, soft, and perfect for gardens, lawns and topping up ponds. Caught off a clean roof and stored properly, it keeps your garden going through dry spells and takes pressure off mains supply. For outdoor use — irrigation, washing down paths, filling a water feature — a simple tank-and-pump setup is straightforward.

    What rainwater is allowed to supply indoors (toilets, laundry, even drinking in some setups) varies by state and council, and there can be requirements around tank screening, mosquito protection and cross-connection. Rather than assume, check your local water authority or council for what’s permitted where you live before you plan anything beyond the garden.

    Sizing a tank to your roof and rainfall

    Tank size is a balance between how much rain you can realistically catch and how much water you’ll use. A bigger roof catches more per shower of rain; a wetter region refills more often. If your goal is to ride out dry weeks, lean toward more storage; if you just want to take the edge off summer watering, a modest tank does plenty.

    Think about the space you have, how the tank will look, and whether you’d rather one large tank or a couple of smaller linked ones. There’s no single right answer — match the storage to your roof, your rainfall and your watering habits.

    First-flush diverters and clean water

    The first wash of water off a roof carries dust, leaf litter and bird droppings. A first-flush diverter sends that initial dirty flow away before the cleaner water reaches the tank, which keeps your stored water far nicer and reduces sludge. Pair it with leaf guards on the gutters and a screened tank inlet, and you’ll have water that’s clean enough for the garden and kinder to your pump.

    Surface vs submersible pumps and automatic controllers

    To get useful pressure out of a tank you’ll usually need a pump. A surface pump sits beside the tank and draws water out; a submersible pump sits inside the tank. Surface pumps are easy to access and service, while submersibles are quieter and out of sight. Either way, an automatic pressure controller is the part that makes it feel like mains water — the pump switches on when you open a tap or sprinkler and off when you stop.

    One firm rule: positioning and plumbing the pump on the garden side is fine to do yourself, but the electrical connection must be carried out by a licensed electrician on an outdoor, RCD-protected circuit. Pumps near water and unlicensed wiring don’t mix.

    Garden-only vs plumbed-to-the-house

    A garden-only tank that feeds sprinklers, hose taps or a water feature is the simple path. But if you want rainwater running to toilets, the laundry or anywhere it could meet the drinking-water supply — or you want a device that automatically switches between rainwater and mains when the tank runs low — that crosses into licensed plumbing territory and may require backflow prevention to protect the town supply. Installing a tank into the household water supply or fitting a mains-switching device is licensed plumbing work, and a team like Creek to Coast Plumbing handles that side of the install.

    Siting, overflow and seasonal upkeep

    Put the tank on firm, level ground close to both the downpipe and the garden it’ll serve — shorter runs mean better flow. Plan the overflow so excess water runs safely away from the house footings, not into them. Through the year, clear the gutters and leaf guards, check the first-flush diverter, and give the tank a look for sludge build-up. A little seasonal attention keeps the water clean and the pump happy.

    For the bigger picture on how rainwater fits with ponds, pumps and water-wise design, see our overview on water in the Australian garden.