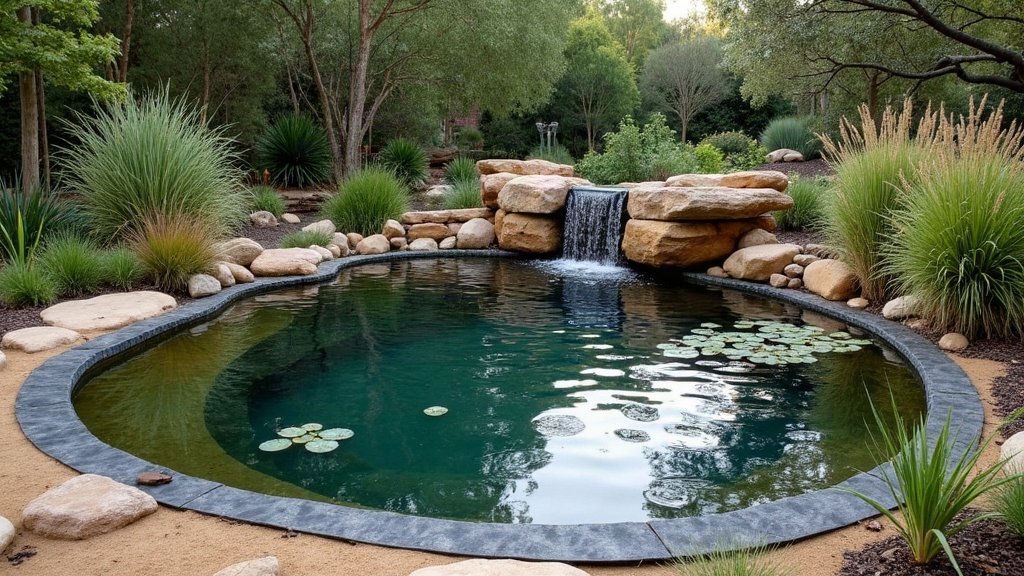
Every pond loses some water. Sun, wind and a running waterfall all take their share, and on a hot, dry week the drop can look alarming. A leak is different: the level keeps falling at the same pace on mild days, and topping up becomes a daily job. The good news is that most leaks aren’t in the middle of the liner. They’re at the edges, in the waterfall or at a fitting, and you can find them with a bucket, a marker and a bit of patience.
Is it a leak or just evaporation?
Do a bucket test before you pull anything apart.
- Set the bucket: sit a bucket on a pond shelf or a brick inside the pond so its rim is above the water.
- Match the levels: fill the bucket with pond water until the level inside matches the pond outside.
- Mark both: put a strip of tape or a pencil line at the water level inside the bucket, and another on a rock or the liner edge outside.
- Run as normal: leave the pump on for 24 hours.
- Compare: if both have dropped about the same amount, that’s evaporation. If the pond has dropped noticeably more than the bucket, you’ve got a leak.
Repeat it if the weather was wild that day. A strong hot wind can fool a single test.
Where do pond leaks usually hide?
Start with the parts that move water, not the pond itself. The liner tends to be the last thing at fault, even though it’s the first thing people suspect.
- The waterfall or stream: water splashing over the side, running under a rock that’s shifted, or escaping where the liner under the stream wasn’t folded up high enough at the edges.
- Low spots in the edge: the ground settles, an edging stone sinks, and the liner rim ends up below the waterline in one corner.
- Wicking: soil, mulch or plant roots touching the water and the ground outside the liner draw water out like a candle wick.
- Fittings and hoses: bulkhead seals, filter connections and the hose clamps at the pump outlet. A slow drip from an external filter adds up over a week.
- The liner itself: punctures from sharp rocks, roots or a dog’s claws, or a crack in a preformed shell.
Finding the leak, step by step
Step 1: Turn the pump off
Switch off the pump and let the pond sit for a day. If the level holds steady with the pump off, the leak is in the plumbing, the filter or the waterfall, not the pond.
If you keep fish, don’t leave them without circulation for long in warm weather. Add an air stone while you test. Our guide on whether your pond needs an aerator covers why oxygen drops quickly in still, warm water.
Step 2: Check the water feature run
With the pump back on, walk the full length of the waterfall or stream. Look for damp soil beside the rocks, a trickle going sideways off a lip, or water disappearing behind a stone. Lift the liner edge along the stream where you can. It should be turned up well above the flow line on both sides.
Step 3: Let the pond find its own level
If the pond still drops with the pump off, stop topping it up. Let it fall until it stops. The leak sits at or just above the line where it settles. Run your fingers slowly around the liner at that height and look for a hole, a split, a fold that’s lifted, or soil touching the water.
Step 4: Use milk or food dye to pinpoint it
On a still day, squeeze a few drops of milk or a pond-safe dye near a suspect spot with the pump off. If there’s a hole, the cloud drifts towards it and gets drawn in.
How do you fix it?
The repair depends on what the pond is made of. If you’re not sure what you’ve got, our breakdown of EPDM, preformed and concrete pond liners will help you tell them apart.
- EPDM rubber liner: lower the water below the hole, clean and dry the area, apply EPDM primer, then press on a self-adhesive EPDM patch and roll it firmly from the centre out. Give the patch a good margin past the damage on every side.
- PVC liner: use a PVC repair kit and glue made for liners. PVC gets stiff and brittle with age, so if it’s cracking in several places, budget for a new liner.
- Preformed shell: small cracks in fibreglass can be repaired with a fibreglass kit. Cracked plastic shells rarely hold a lasting repair and are usually cheaper to replace.
- Concrete: clean out hairline cracks, fill with a sealant rated safe for fish, and follow the maker’s cure time before refilling.
- Edges and wicking: lift sunken stones and pack soil under the liner rim to raise it, trim back roots and pull mulch away so nothing bridges the liner edge.
For bigger leaks that mean draining the pond, move the fish into a shaded tub of their own pond water with an air stone before you start. If the job turns into a rebuild, our guide on building a garden pond covers underlay and edging so the new liner doesn’t end up with the same problem.
Topping up while you sort it out
Until the leak’s fixed, you’ll be adding water, and tap water isn’t ideal for fish. Town water is treated with chlorine or chloramine, depending on your supplier, so use a dechlorinator if you’re topping up from the hose.
Rainwater from a clean tank avoids those disinfectants altogether. If you’re in Queensland and want one installed and hooked up properly, Creek to Coast Plumbing handles rainwater tank installations.
After any big top-up or repair, check your water over the next few days. Our guide to testing pond water at home walks through what to look for.