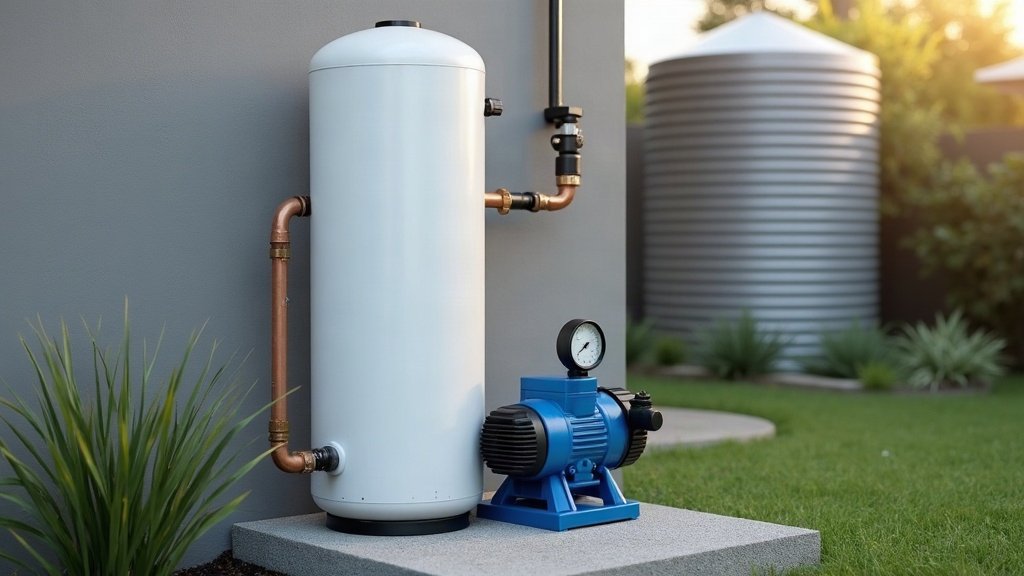
Your pump doesn’t hold the pressure in your pipes. The pressure tank does. Inside the tank is a pocket of compressed air sealed behind a rubber bladder, and when you open a tap that air pushes water out to you. The pressure switch watches the system and only starts the pump once the pressure has dropped far enough. Get those two parts working together and the pump runs in long, calm bursts instead of kicking on every time someone fills a glass.
What’s actually inside a pressure tank?
Most home pressure tanks are a steel shell split in two by a rubber bladder or diaphragm. Water sits on one side. On the other side is air, charged at the factory to a set pressure through a tyre-style valve near the top of the tank.
When the pump runs, it forces water into the bladder and squeezes that air into a smaller space. Squeezed air wants to spring back, so it pushes on the water. That stored push is what keeps pressure at your taps for a while after the pump has stopped.
Older tanks had no bladder at all, just air and water touching. The air slowly dissolved into the water, the tank filled up, and the pump started cycling like mad. That’s why almost every tank sold now keeps the two apart.
How does the pressure switch decide when to run the pump?
A pressure switch has two settings. The cut-in is the low pressure that turns the pump on. The cut-out is the higher pressure that turns it off. A spring inside the switch is pushed by water pressure through a small fitting, and when the pressure crosses either setting, a set of electrical contacts opens or closes.
One full cycle looks like this:
- You open a tap: the compressed air in the tank pushes water out, and the pump stays off.
- Pressure falls: as the tank empties, the air expands and the pressure drops.
- The switch hits cut-in: the contacts close and the pump starts.
- The pump refills the tank: it supplies the tap and pushes extra water back into the bladder.
- The switch hits cut-out: once you close the tap, pressure climbs to the top setting, the contacts open and the pump stops.
The gap between cut-in and cut-out is why the pressure at your shower drifts a little up and down. A wider gap means fewer pump starts but a bigger swing you can feel. A tighter gap feels steadier but starts the pump more often.
What about pumps with no tank?
A lot of smaller rainwater tank pumps use an electronic pressure controller instead of a switch and big tank. The controller starts the pump when pressure drops and stops it once water stops flowing. It’s compact and simple, but with little or no stored water, even a dripping tap or a toilet cistern refilling can start the pump.
Some people add a small pressure tank after a controller to soak up those tiny draws. Whether that suits your setup depends on the controller, so check the maker’s instructions first. Our guide to choosing a pump for a water tank covers the trade-offs between the two styles.
Checking the air charge yourself
The air side of a bladder tank slowly loses pressure over the years, the same way a car tyre does. When the charge is low, the tank holds less water and the pump starts more often. All you need is a tyre gauge.
- Turn the pump off at the power point: the reading means nothing if the pump can kick in while you’re testing.
- Drain the water pressure: open the nearest tap and leave it running until the flow stops completely.
- Read the air valve: take the cap off the valve on the tank and put a tyre gauge on it.
- Top it up if it’s low: a bike pump or small compressor will do it, a little at a time.
The usual target is a little under the cut-in pressure, often around 10 per cent below. Your pump or tank manual gives the right figure for your system, so go by that over a rule of thumb.
If water comes out of the air valve when you press it, the bladder has split. You can’t patch that from outside. On most home tanks it means a new bladder or a new tank.
Signs the tank or switch needs attention
- The pump starts and stops every few seconds: classic short cycling, usually a flat air charge or a waterlogged tank. Our article on why a pump keeps cycling on and off walks through the other causes.
- Pressure pulses at the tap: the shower surges and fades in a steady rhythm as the pump starts and stops.
- The pump won’t switch off: it may never reach cut-out because of a leak, a worn pump or a switch that’s out of adjustment.
- Clicking or buzzing from the switch: pitted or chattering contacts, often a sign the switch is near the end of its life.
A pump that starts dozens of times an hour wears its motor and switch out far sooner than one that runs in long cycles. Our guide to how long water pumps last explains what that wear looks like.
What you can do, and what needs a licensed tradie
Checking and topping up the air charge is a fair DIY job once the power is off. Adjusting the pressure switch is a different matter. The adjusting nuts sit right beside live mains terminals, and replacing or rewiring a switch is electrical work. Across Australia that work is restricted to licensed electricians, under rules set by each state and territory’s electrical safety regulator.
Changing a tank or connecting a pump to the house water supply is plumbing work, so that’s one for a licensed plumber. If your real problem is weak pressure rather than a cycling pump, start with our guide to pressure and booster pumps before you touch any settings.